
Summer Ice Cream Party
In the Pacific Northwest, summer unofficially officially starts after the July 4th holiday. This is the date on the calendar which seems to align with when the rain stops. It’s also when the berries and the peaches are plentiful, farmers markets are in full supply, and you start smelling barbecues in the neighborhood. The sunshine makes you think, I could use some ice cream. According to the International Dairy Foods Association website, President Ronald Reagan designated July as National Ice Cream Month in 1984. I guess that means I have the license to eat more ice cream than usual in the upcoming month. To do my part, I started pushing ice cream last Friday on Summer Solstice when I hosted a neighborhood ice cream soiree.
Serving up nostalgia
In trying to decide what to serve, I opted for nostalgia. The kind that takes you back to warm, still summer evenings broken with the melody of an ice cream truck in the distance. Orange creamsicles were my favorite growing up. They remind me of my mom for sure. My kids would say Neapolitan ice cream sandwiches represent their Arizona childhood. I’ve often thought that an ice cream truck unexpectedly driving through my little beach town or parked along the beach at sunset, would offer up some spontaneous joy for the child in us all.
For my party, I wanted to make most of the treats, and I wanted them to be handheld. No bowls and spoons required. I knew I wanted something chocolate, something fruity, and something with add-ins. I decided on ice cream sandwiches, a peanut butter cookie ice cream sandwich that was a nod to tin roof sundae ice cream (another favorite from my childhood), a strawberry cookies & cream pop, and a decadent fudgesicle.
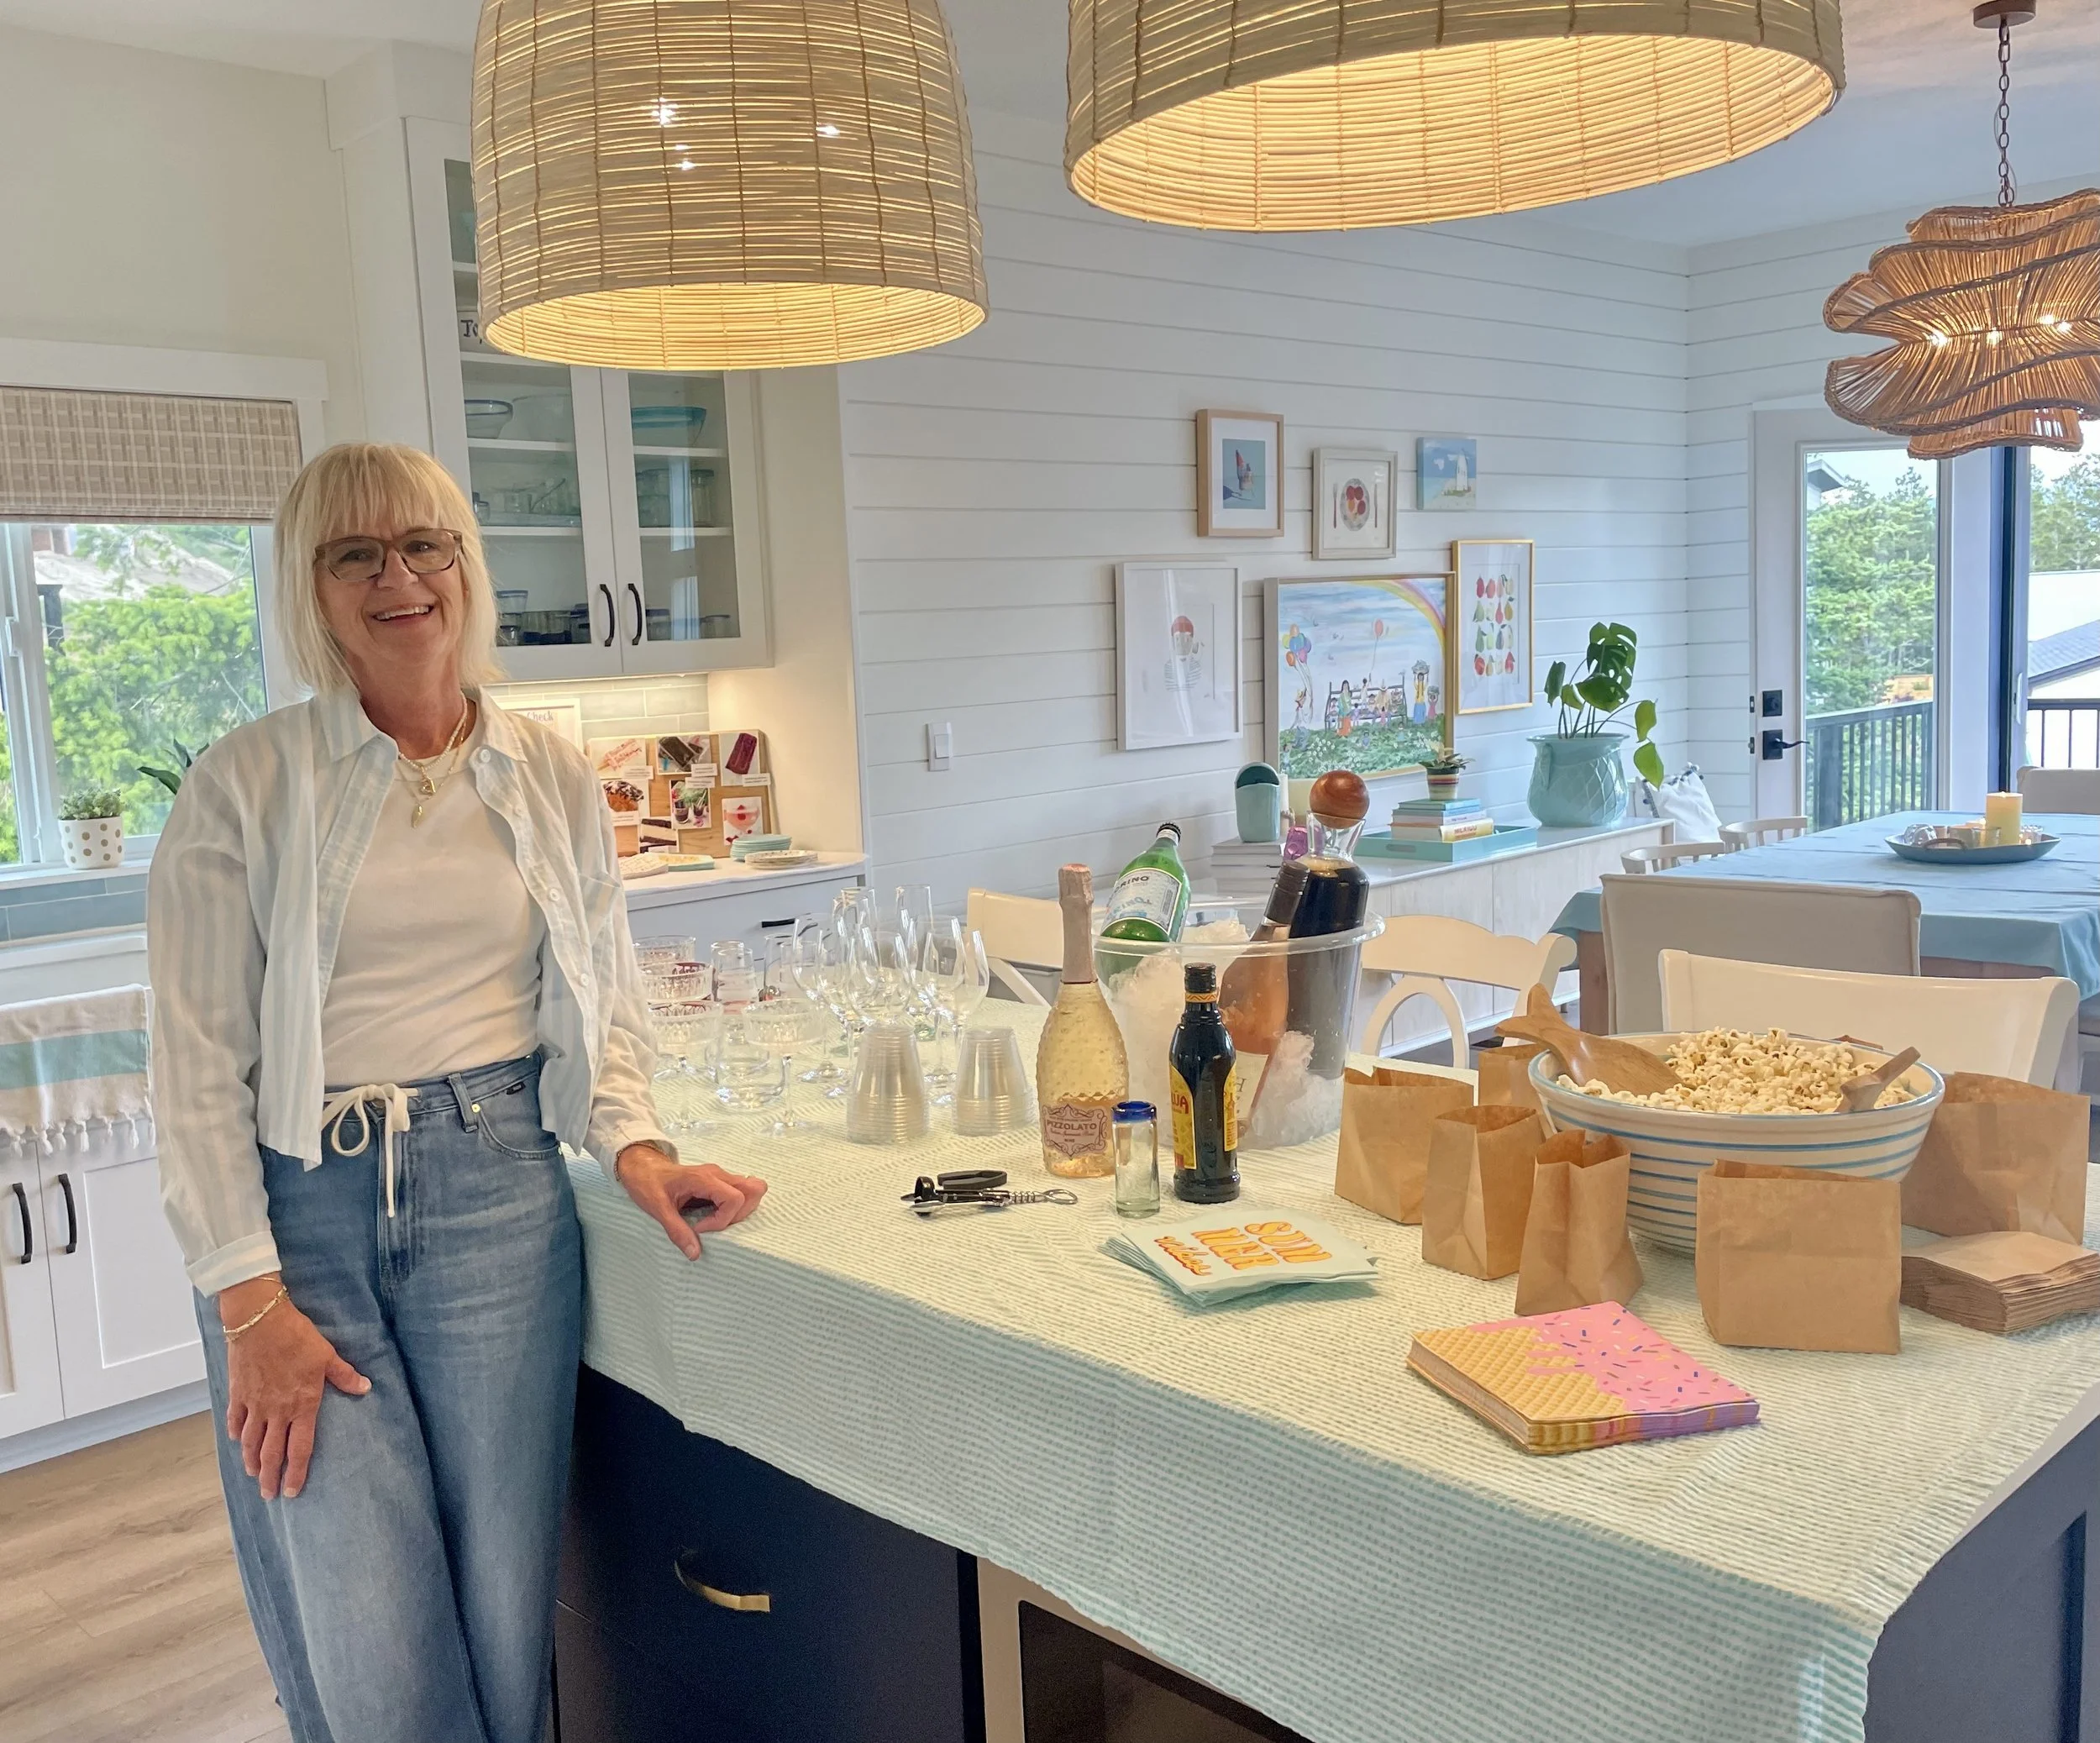
Along with a heavy-duty cooler full of ice cream treats, we had wine, champagne (with a raspberry sorbet champagne float option), and salty popcorn to combat all the sweets.
Below I’ll share more about how to make the various ice cream treats and what equipment you need. But first, let’s get to what treats I made.
Classic Ice Cream Sandwiches
Smitten Kitchen Ice Cream Sandwiches turned out to be the most popular item. I chalk that up to nostalgia. Deb Perlelman knows her stuff. The cake-like brownie stays a perfect consistency when frozen. And they are so much tastier than store-bought ice cream sandwiches. Full disclosure. I did not make the vanilla ice cream. One guest on the way out thought I did. We had a good laugh when he said, “This tastes just like Tillamook!” Yes indeed. I used Tillamook Old Fashioned Vanilla ice cream.
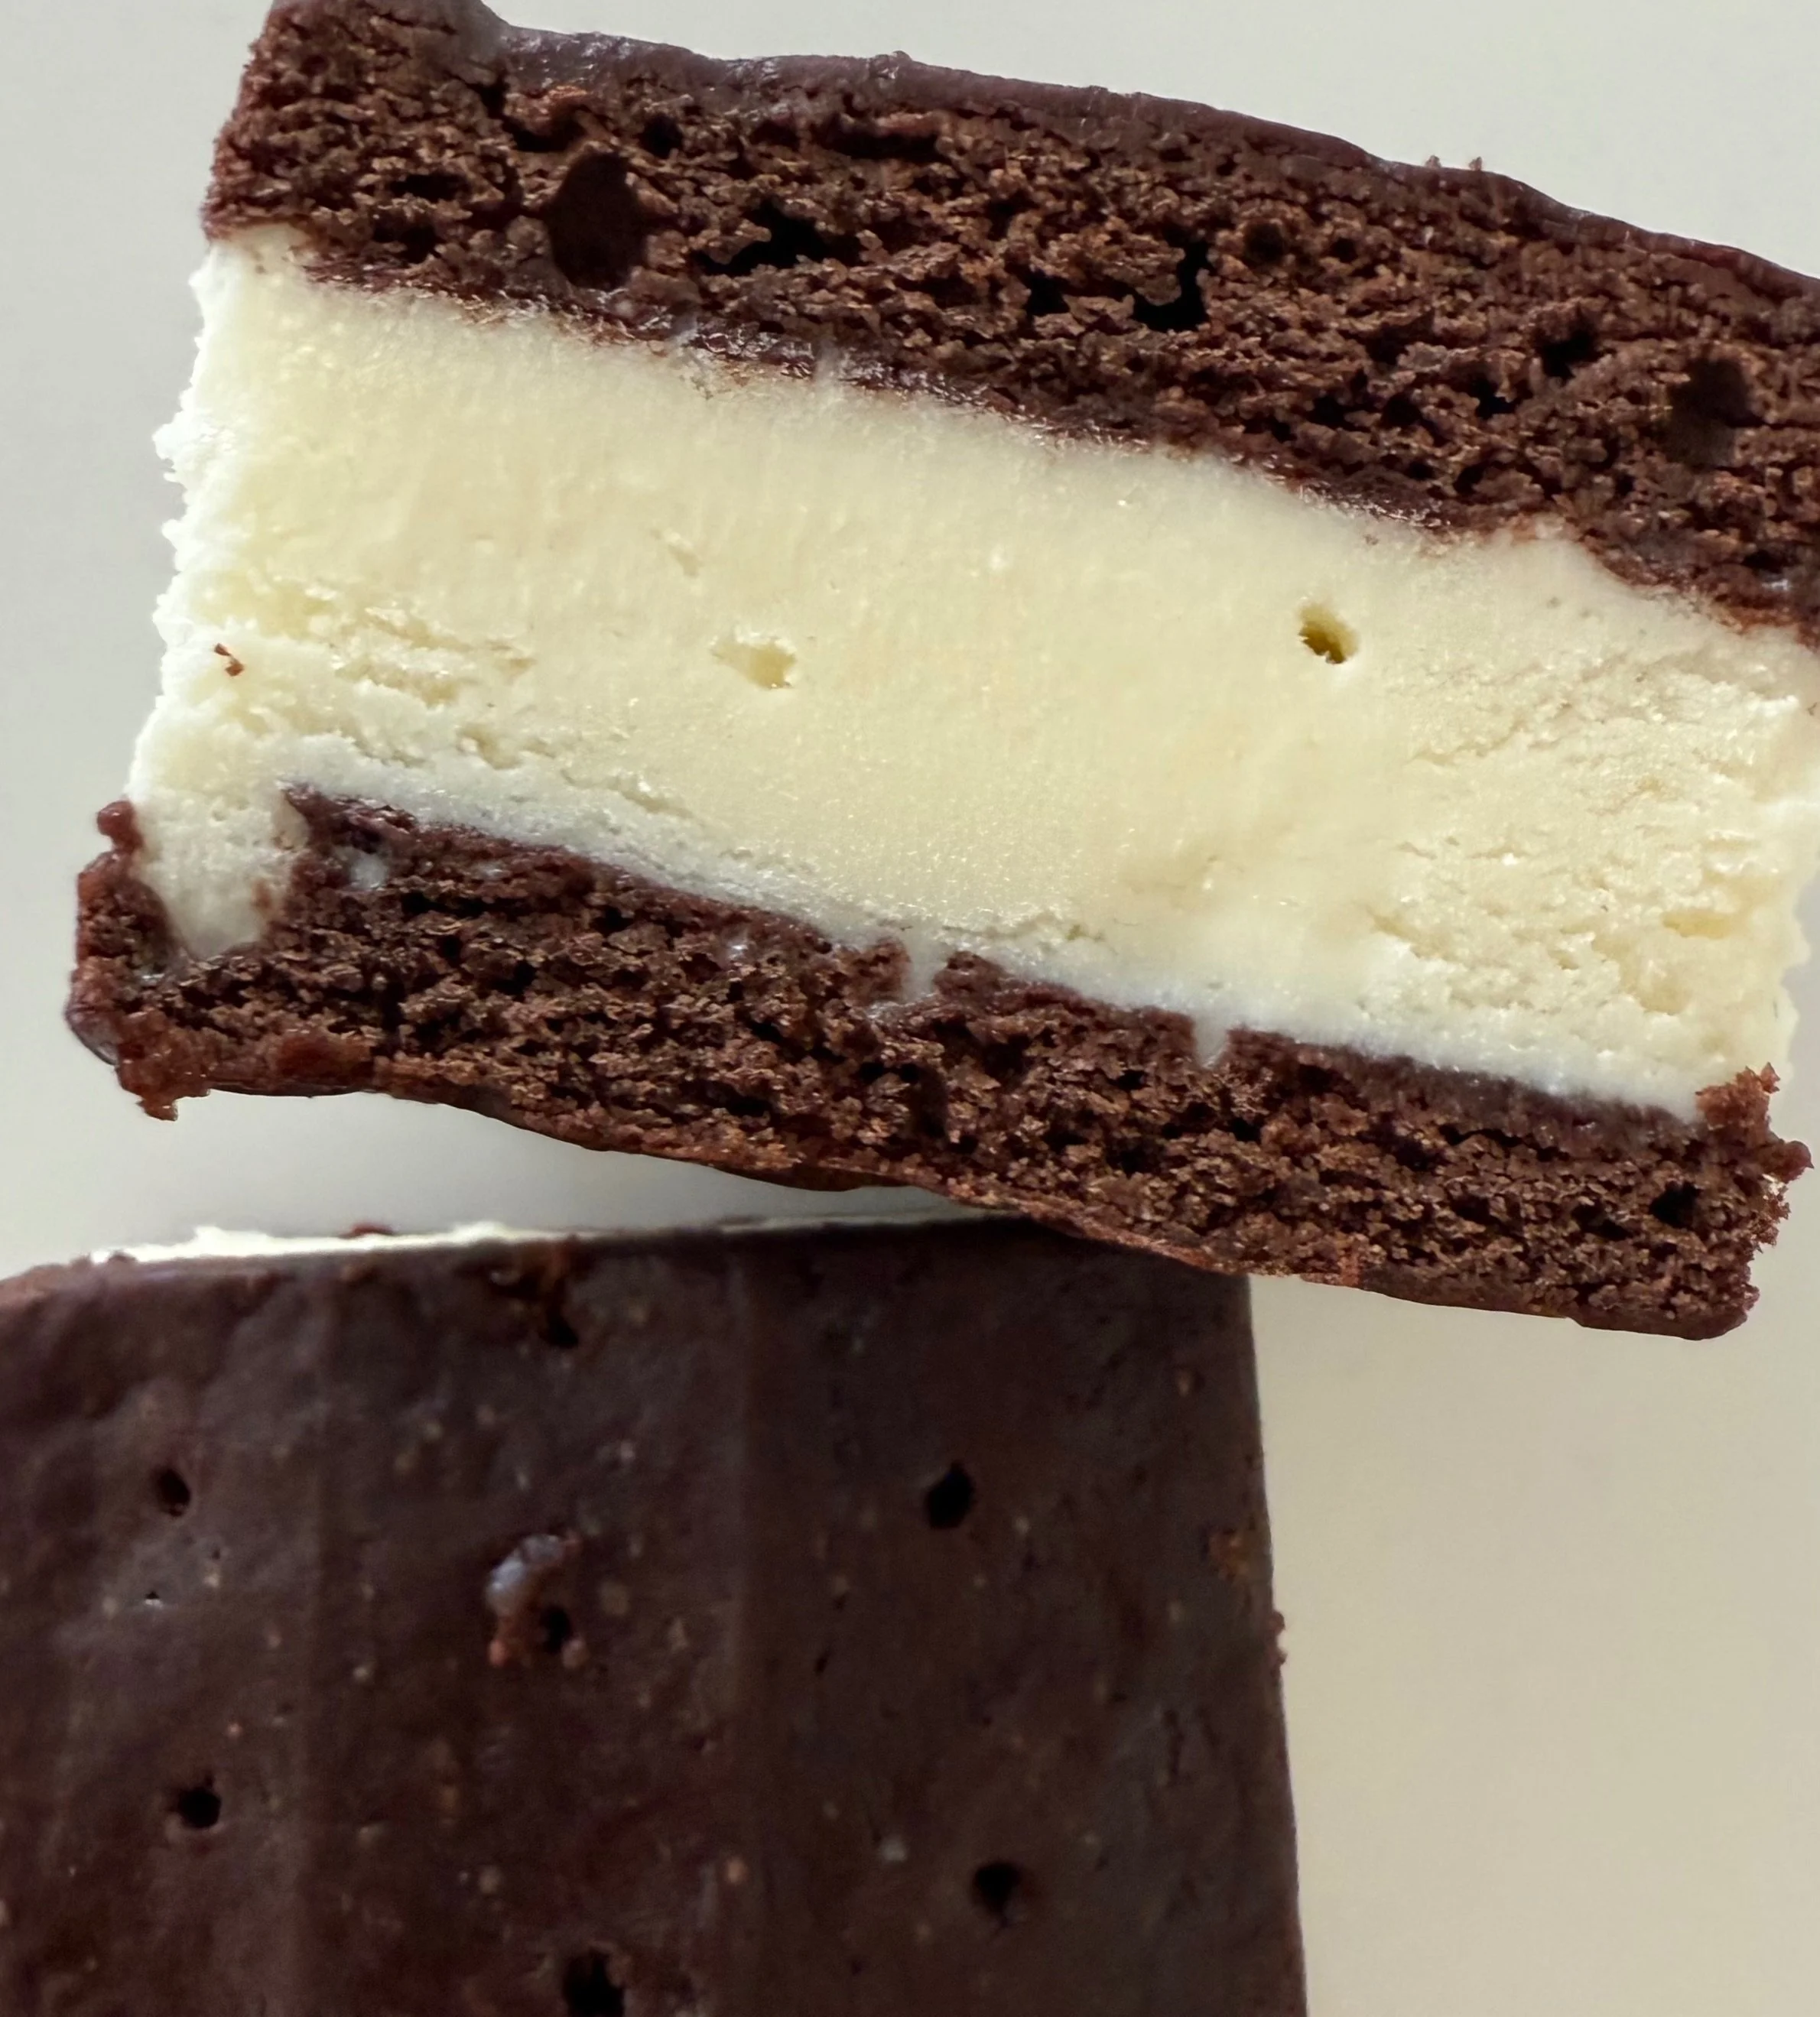
A classic ice cream sandwich constructed of two chocolate cakey-cookie sheets with a slab of vanilla ice cream inside.
These are simple to make. One bowl and one pan. You mix up the chocolate batter that is halfway to cake texture so it stays soft out of the freezer. Spread it into a parchment-lined 9x13 metal baking pan. When baked, you dock it all over so it has holes like the traditional ice cream sandwiches of yesteryear. That was the hardest part – I couldn’t get the holes straight and after a bit, just willy nilly started poking. Once cooled, you cut it in two and fill it with ice cream, place it back in the freezer until solid, and then cut it into 12 pieces, put into parchment bags and back into the freezer. These would be good with a variety of different ice cream flavors. My husband is holding out for mint chip. Next time I may try Deb’s recipe for Blondie Ice Cream Sandwiches with sprinkles or mini choc chips.
Peanut Butter Cookie Ice Cream Sandwiches
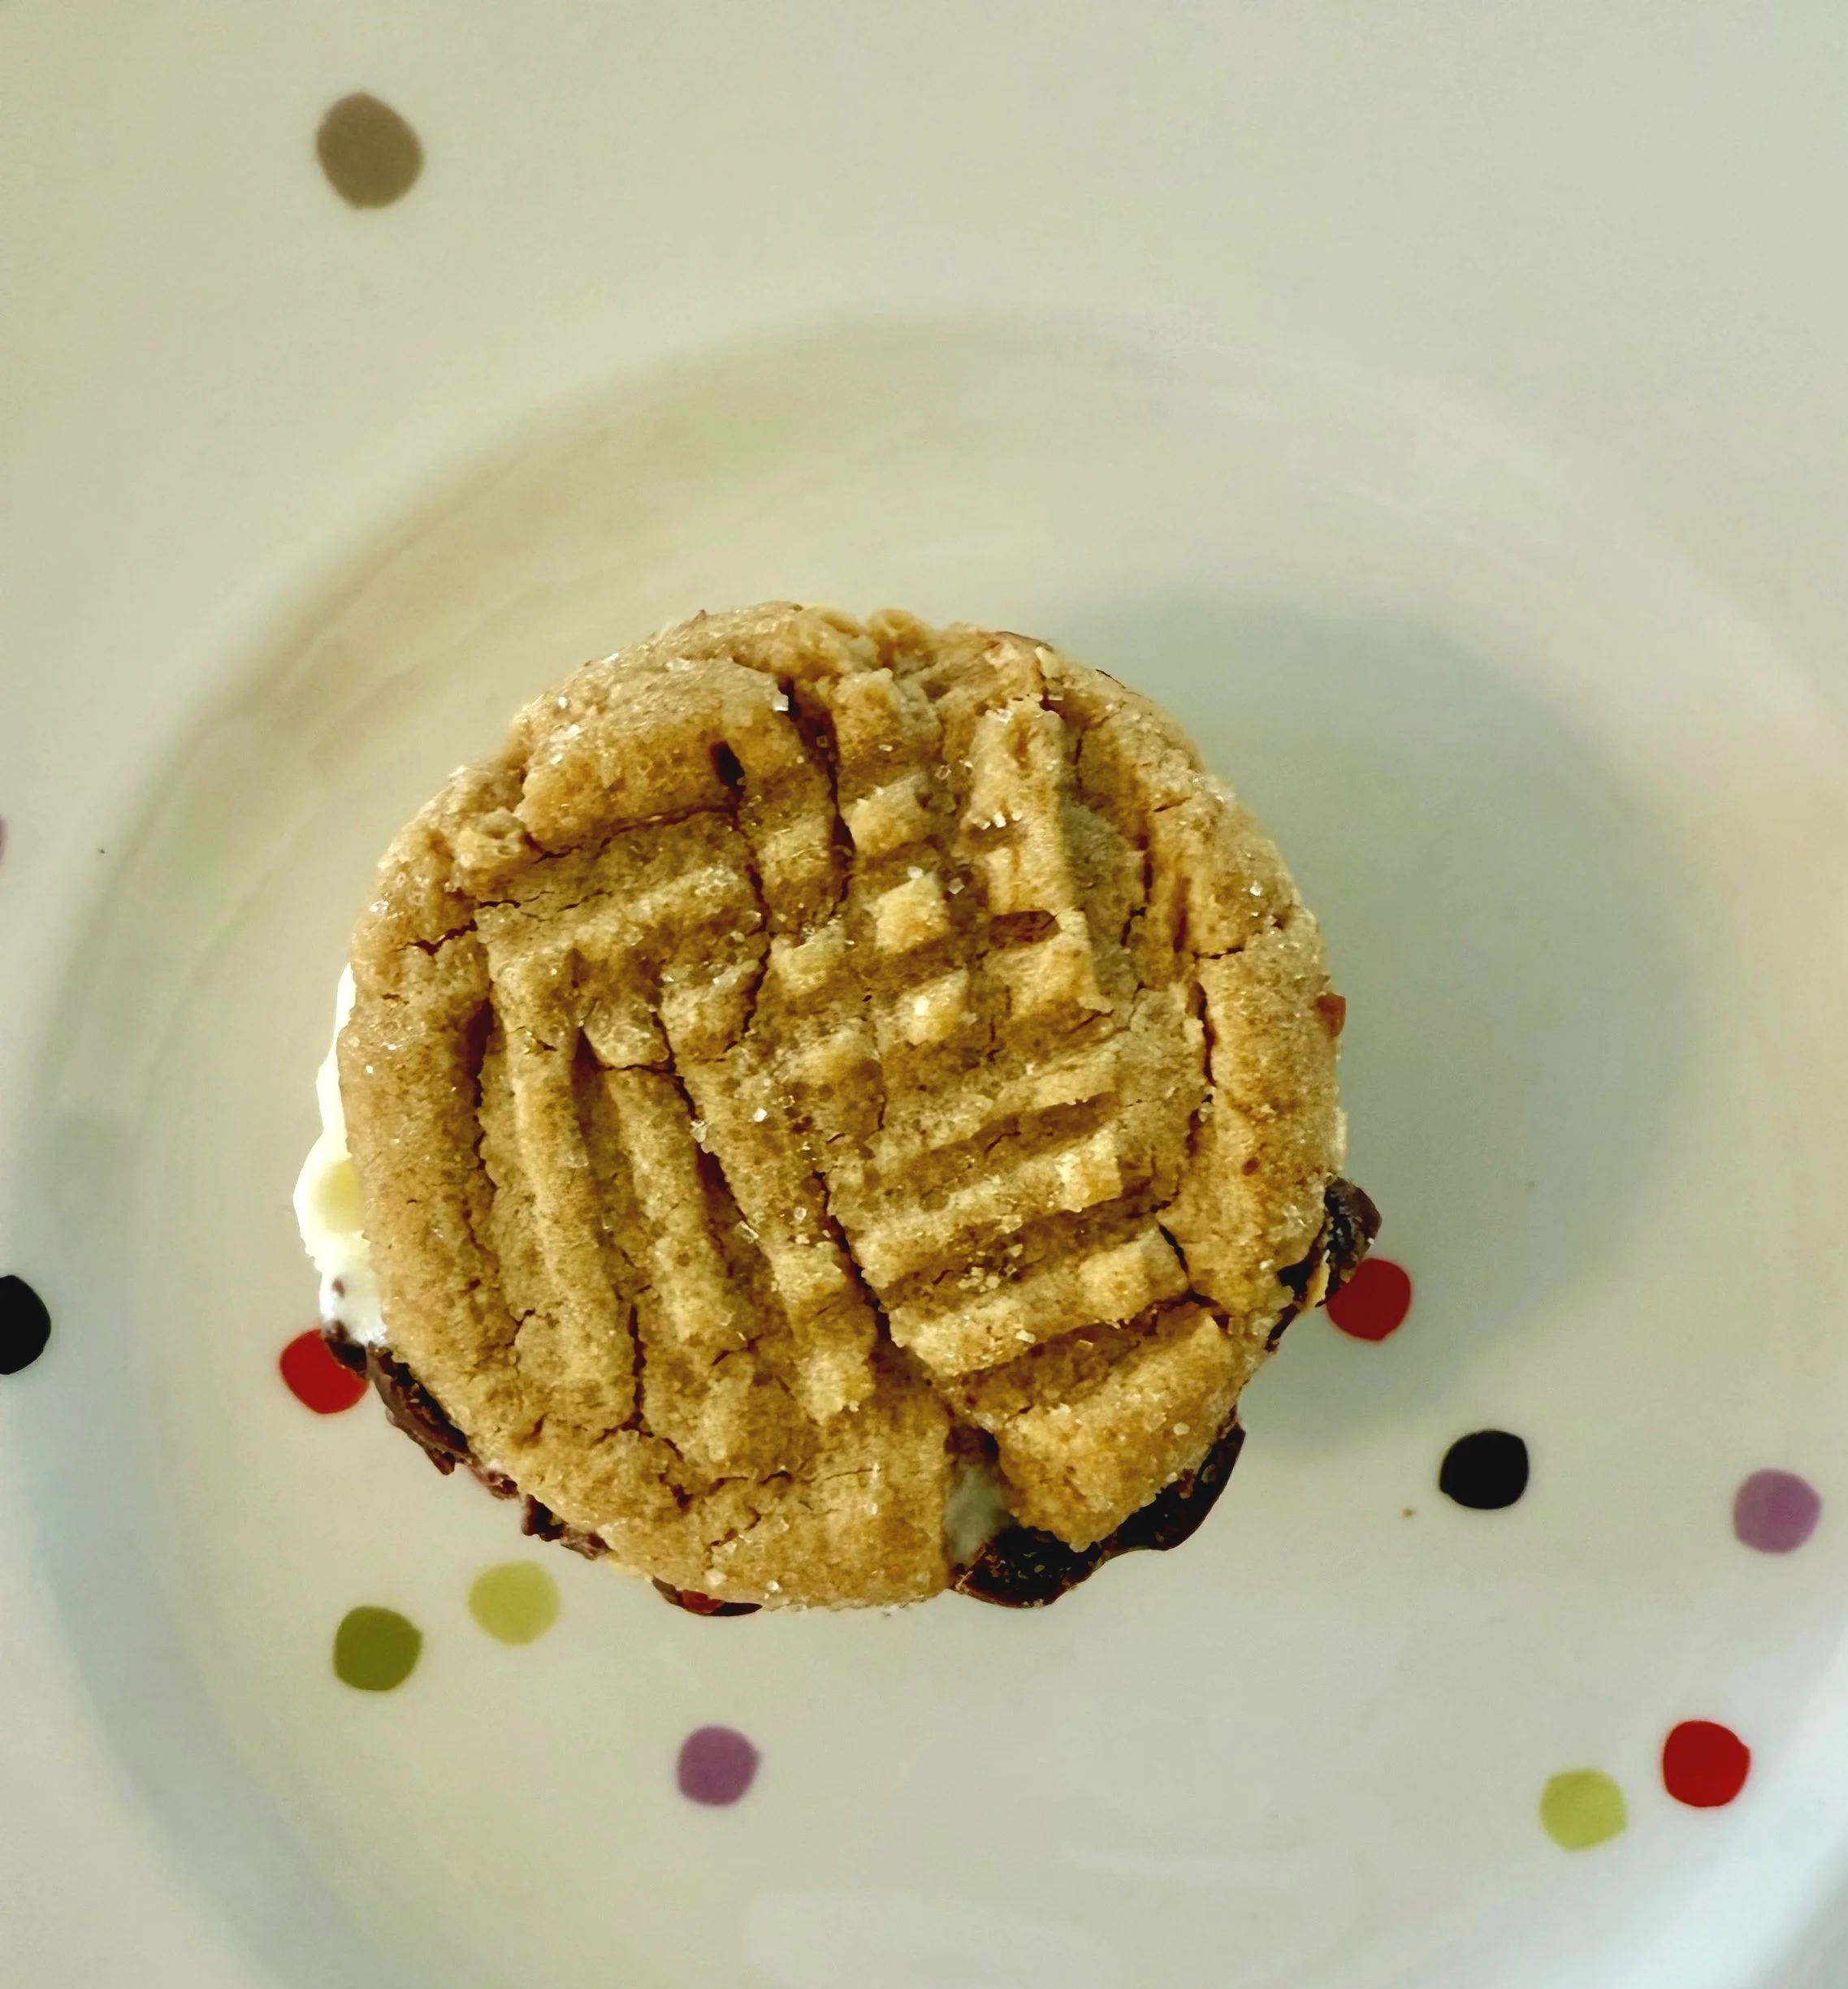
I did a traditional cross hatch pattern on my peanut butter cookies. A waffle stamp would also be great.
Peanut Butter Cookie Ice Cream Sandwiches were also a big favorite. I had more of these than the traditional ice cream sandwiches so who knows if they may have beat out the ice cream sandwiches in popularity. One of my guest’s commented that these reminded him of the Drumsticks we used to get from the ice cream truck. Those had a waffle cone. But mine were vanilla ice cream between two peanut butter cookies. A superior product no doubt. You need to bake the cookies, flash freeze them on a cookie sheet, and then put them into a baggie or container to freeze overnight. The next day I scooped about 1/4 cup vanilla ice cream on a cookie and topped with another. Do them about six at a time and have your chopped peanuts ready so you can roll/press them in and place back in the freezer on a parchment-lined cookie sheet. Once solidly frozen again, I placed them into individual parchment bags. The recipe called for dipping in chocolate and rolling the edge in peanuts. My shortcut was using chocolate-covered peanuts and eliminating the chocolate dipping. Just let them get a little soft after pulling from the freezer for a minute or two before biting into.
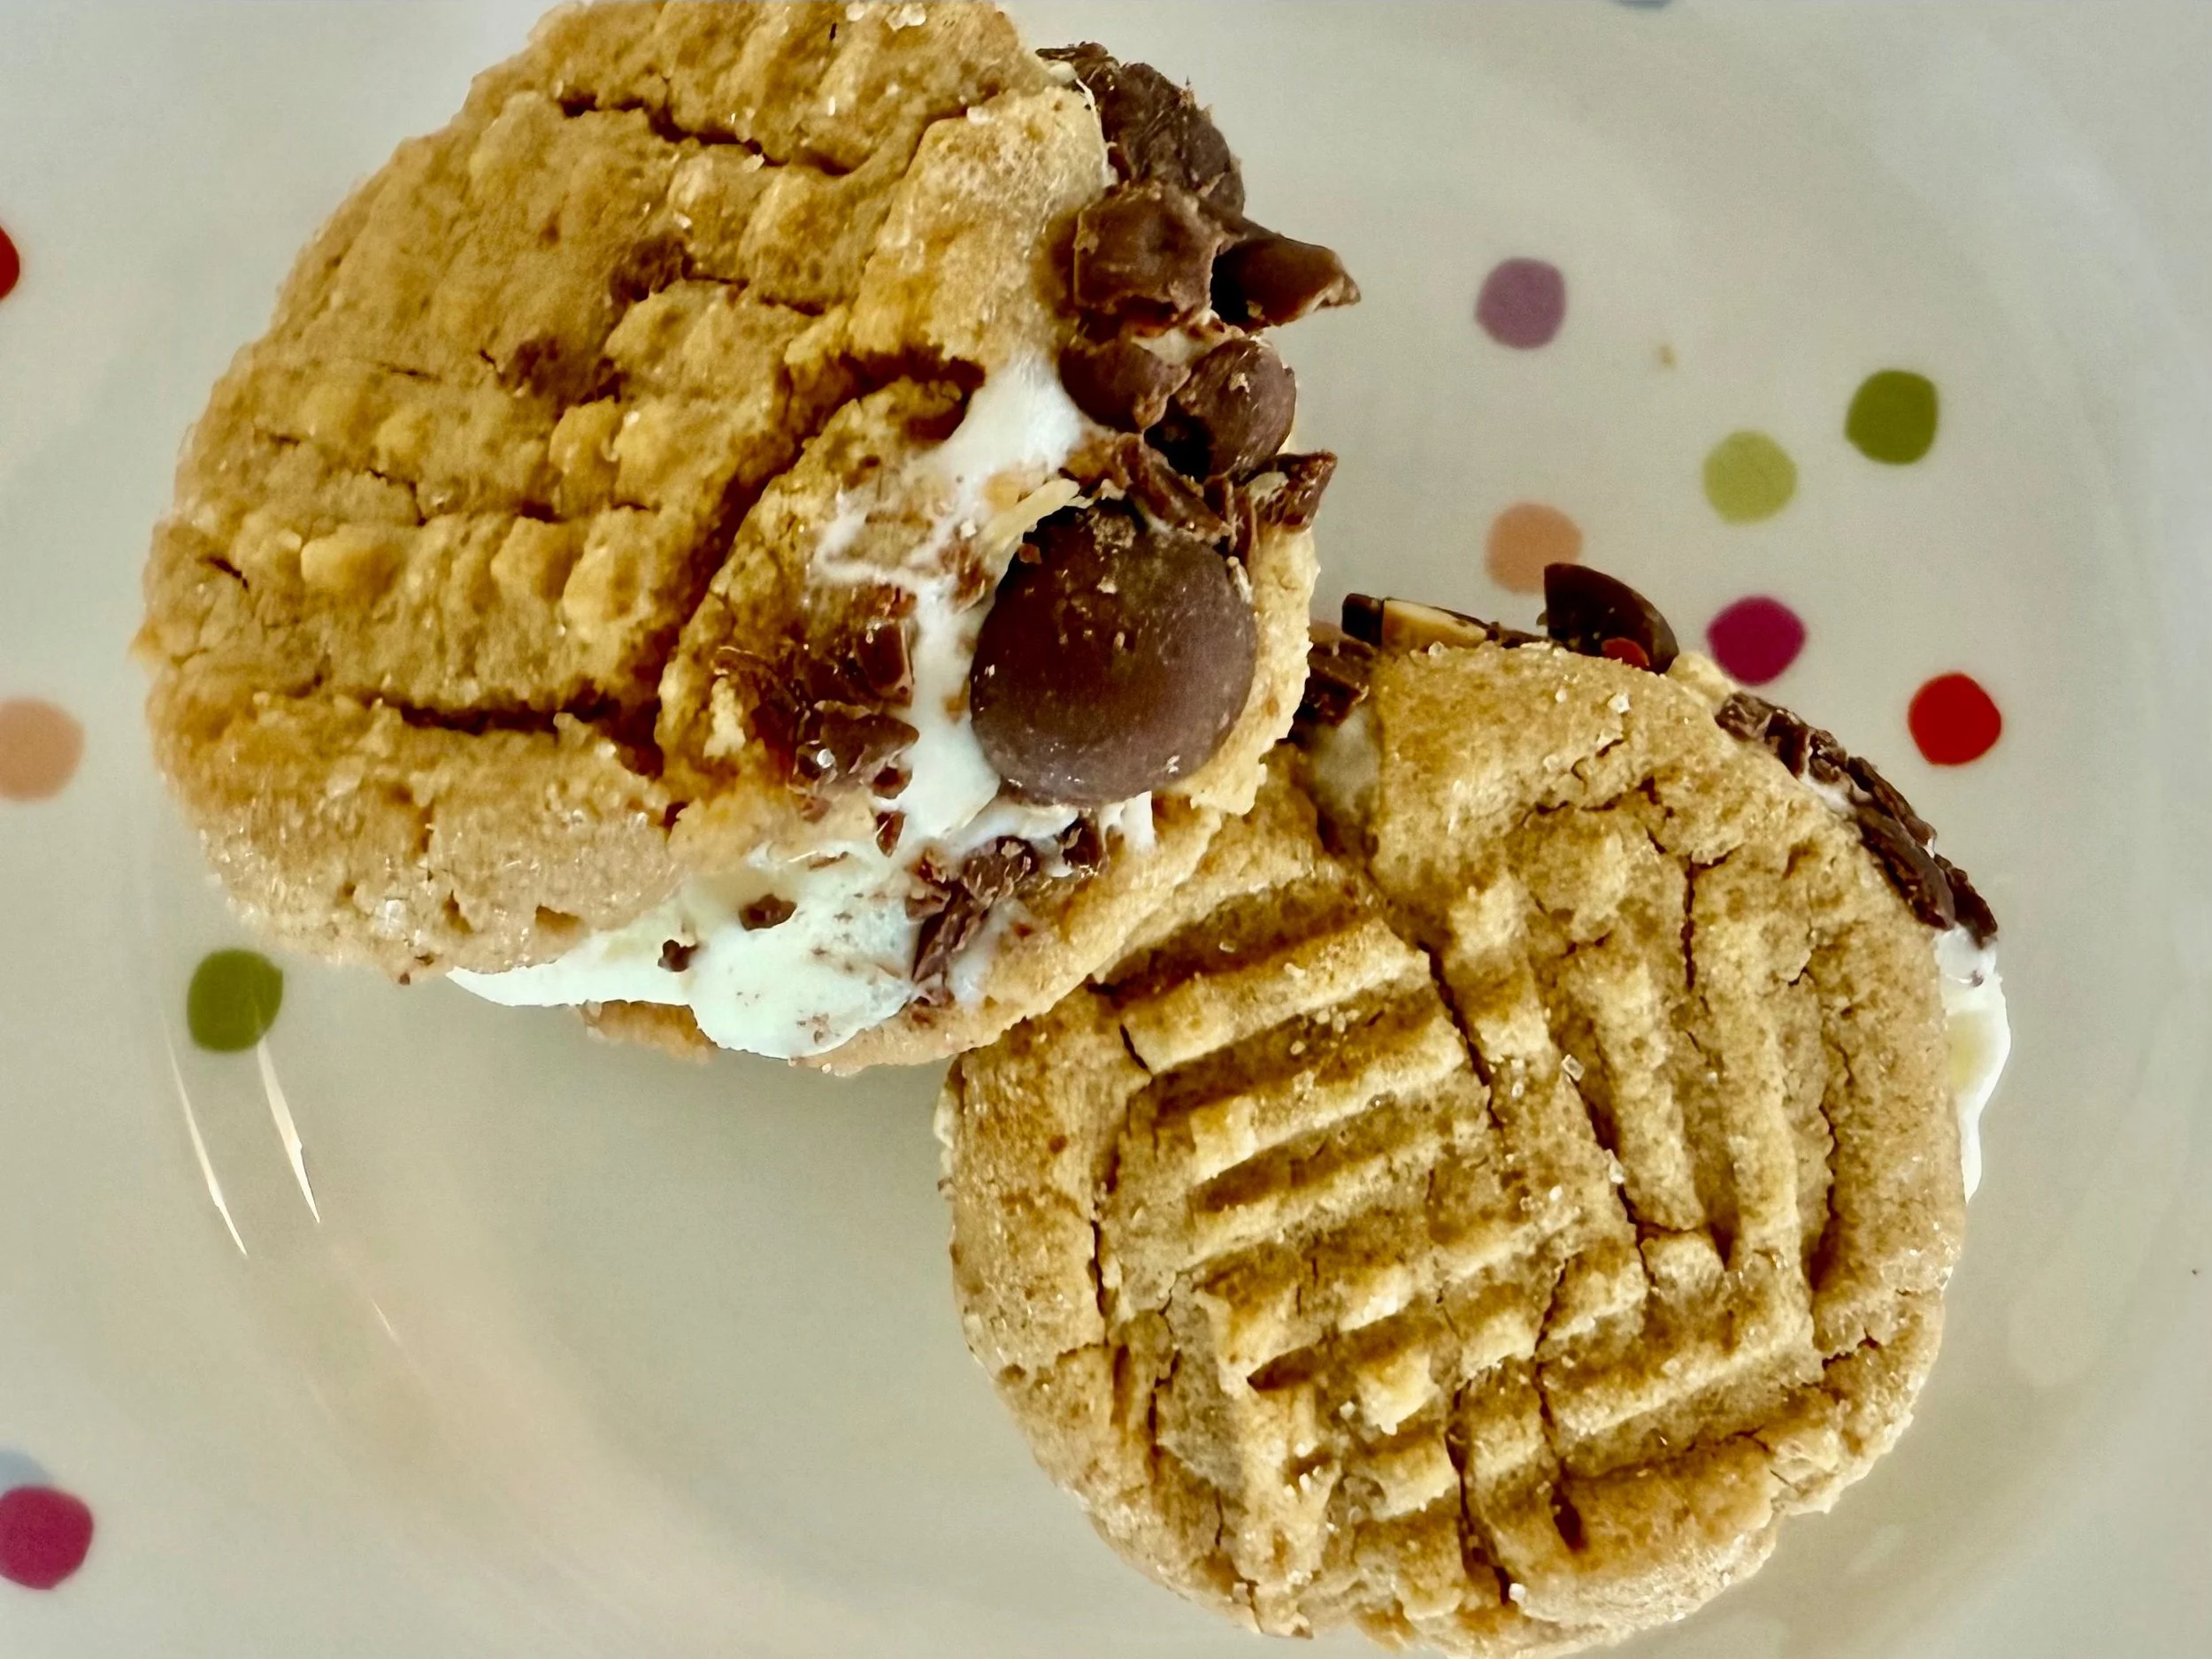
Peanut butter, vanilla ice cream and chocolate covered peanuts. The perfect combo.
Strawberry Cookies & Cream Pops
For something fruity, I made Strawberry Cookies & Cream Pops adapted from Sarah Kieffer’s Strawberry Cookies & Cream No-Churn Ice Cream. I’m definitely a Golden Oreo gal rather than a chocolate Oreo fan, so this recipe had my name on it.

Delicious Oregon strawberries and Golden Oreos folded into no-churn ice cream made pink from freeze-dried strawberry powder.
To make no-churn ice cream, you basically fold heavy whipped cream into condensed milk, along with your favorite flavors or mix-ins. In this case – strawberries, freeze-dried strawberry powder and vanilla sandwich cookies. There’s also a little cream cheese to tang up the sweetness. At this point, I filled my ice cream molds and put the extra into an ice cream container. The recipe made a lot. I had 12 pops and still have a quart of ice cream in the freezer. Really not a problem. If you want them to be pinker, add a few drops of pink food coloring.
Decadent Dark Chocolate Fudgesicles
Every party needs something decadent. Like the best, richest chocolate ice cream. I decided on fudgesicles, but which recipe?
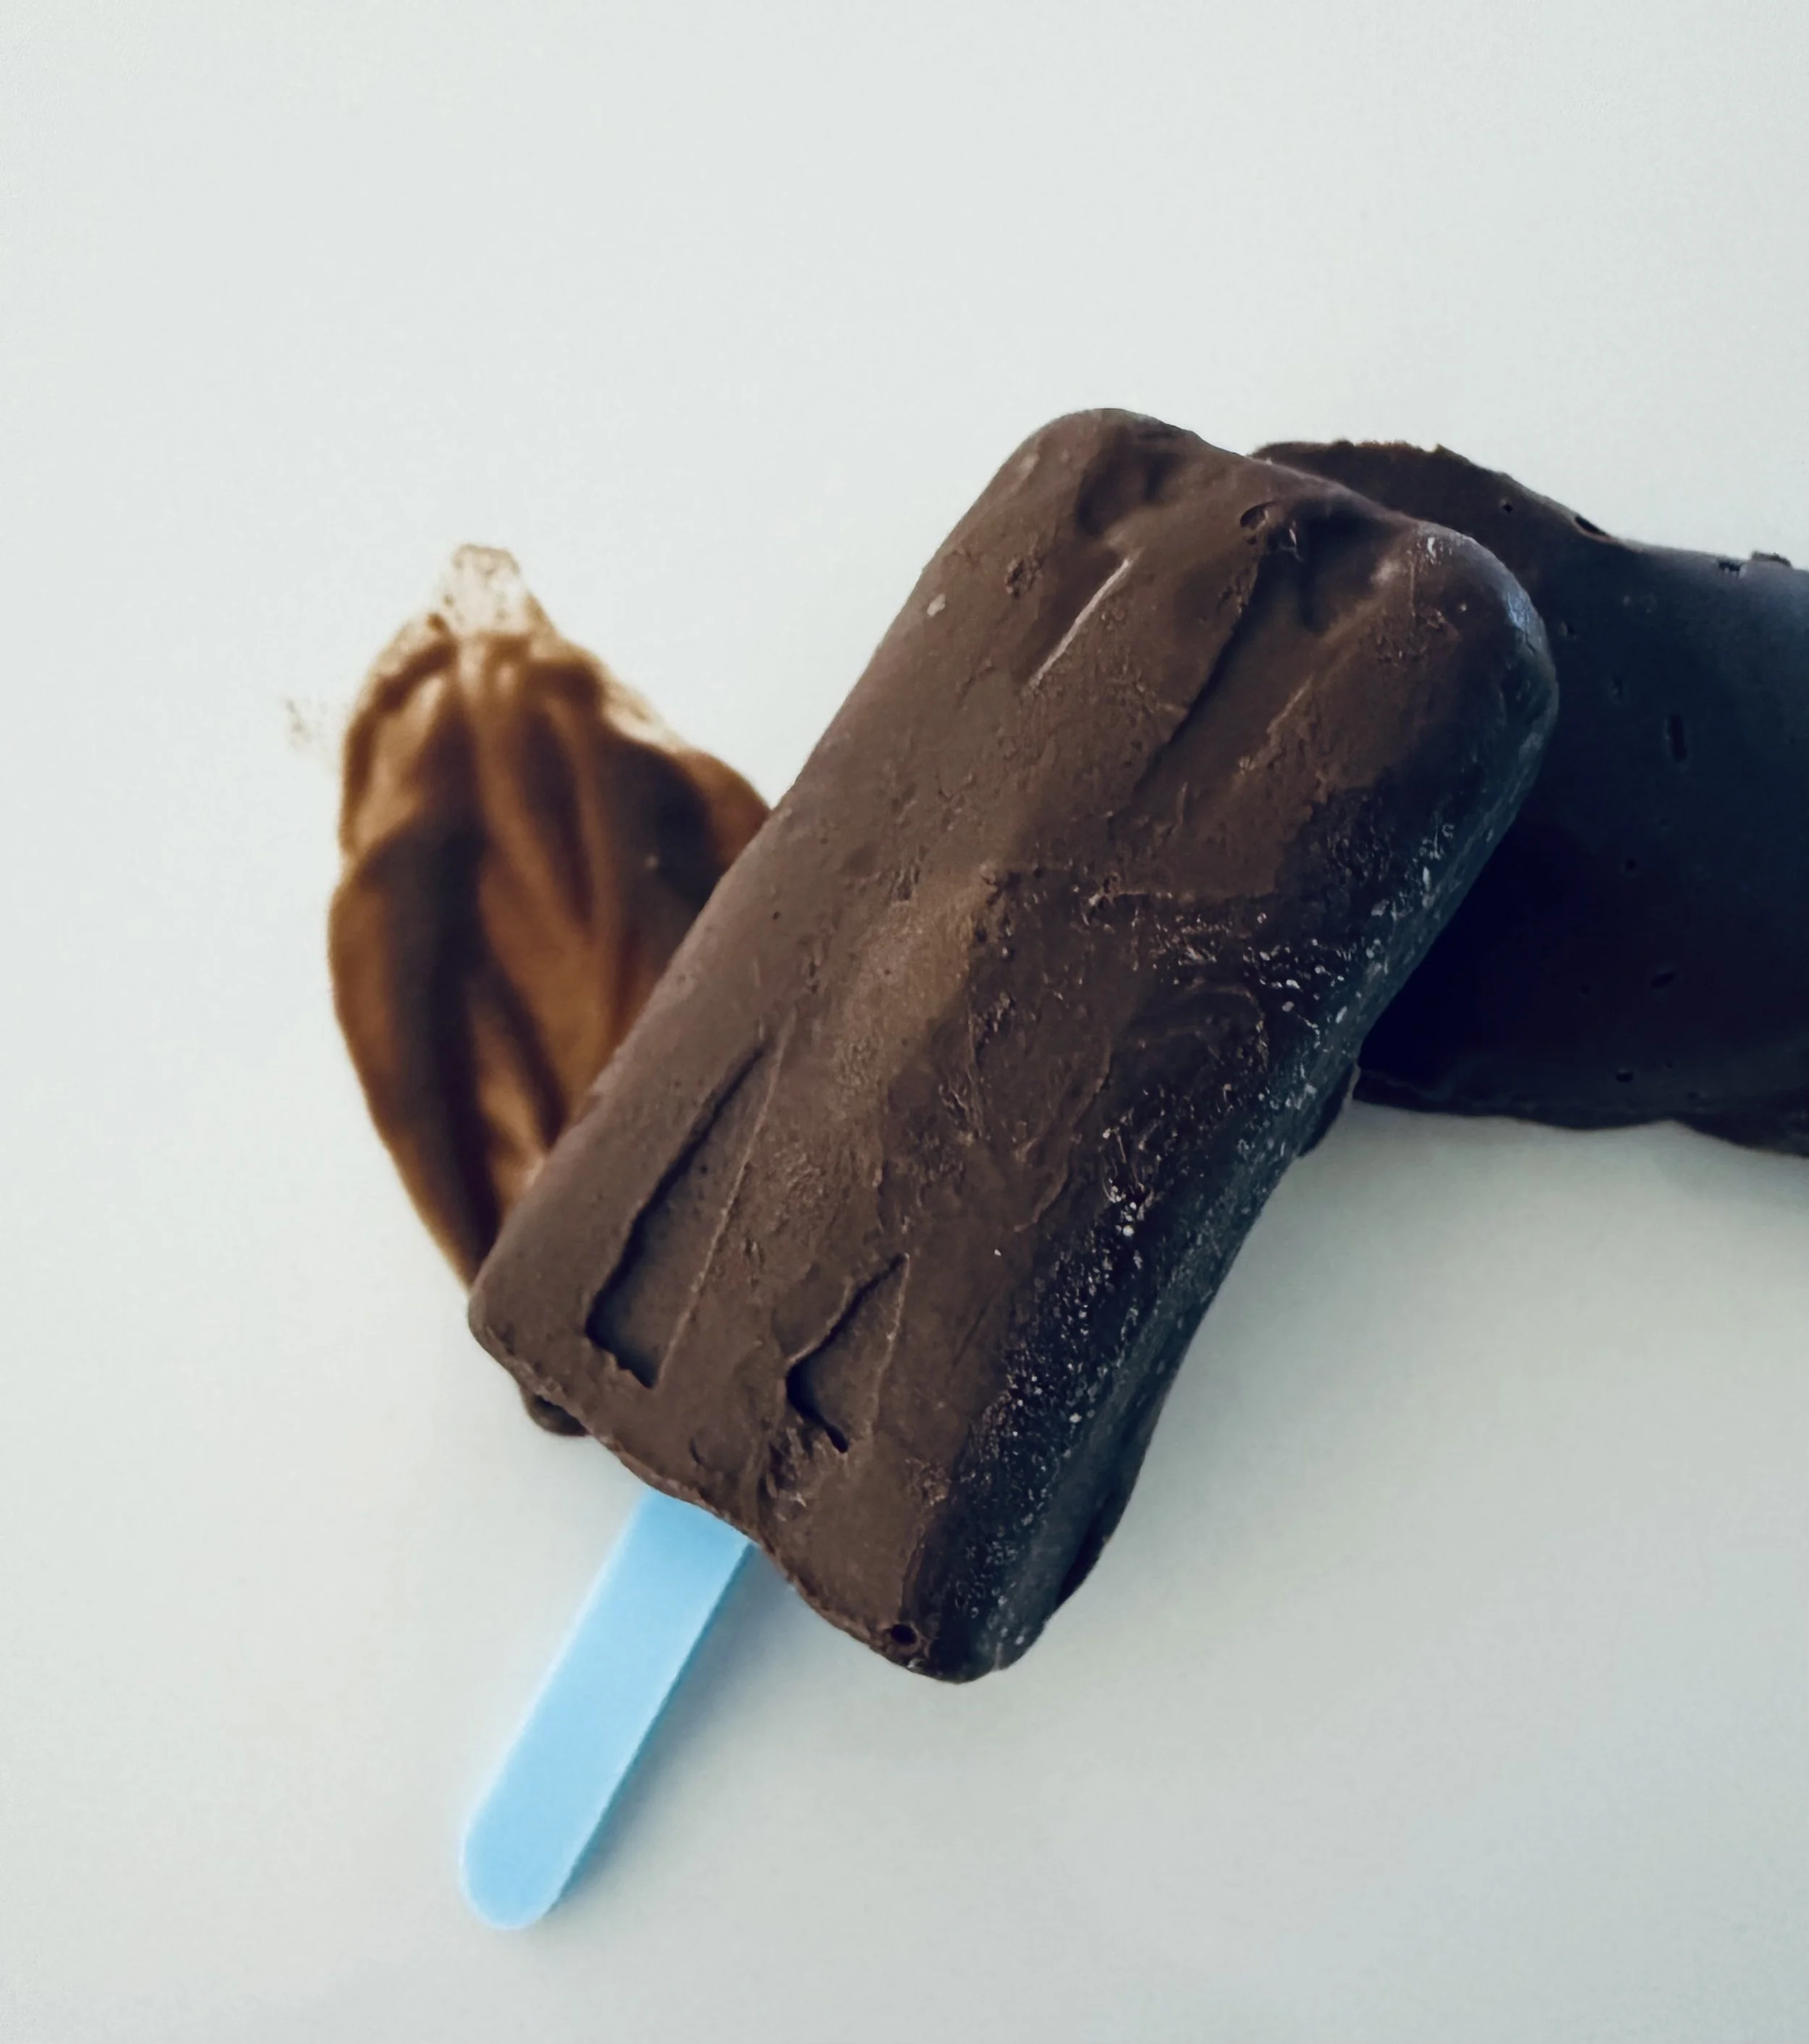
The texture of these fudgesicles was like a thick ice cream or almost like frozen chocolate mousse on a stick.
I was looking at this Easy Homemade Fudgesicles recipe that called for 8 oz of chocolate, 3 Tbs. cocoa powder, and ¾ cup sugar. And this recipe for Dark Chocolate Fudgesicles, which called for only a ¼ cup chopped chocolate, 2 Tbs. cocoa, and 2/3 cup sugar. Several recipes I came across called for cornstarch, and of course I liked the ones that added vanilla and flaky sea salt. I debated between several recipes and came up with the below combination of ingredients.
Ingredients
2 cups heavy whipping cream
1 cup milk
3 Tbs unsweetened cocoa powder (I used Ghiradelli)
2/3 cup sugar
1 Tbs cornstarch (maybe not necessary I decided)
6 ounces chopped chocolate (I used 70% Ghiradelli chocolate bars)
1 tsp vanilla
1 tsp fleur de sel or a flaky sea salt like Maldon or Jacobsen’s (or use kosher salt)
Steps
Combine the heavy cream, milk, sugar, cocoa powder and cornstarch into a small saucepan over medium heat and whisk until combined and softly simmering.
Add the chopped chocolate and continue to whisk until melted.
Remove the chocolate from the heat. Stir in the vanilla and salt. Let sit about 5-8 minutes to cool slightly and thicken.
Pour the sauce mixture into your popsicle molds and place them into the freezer for at least six hours or until frozen.
What I ended up with was a very decadent dark chocolate ice cream pop. Not an icy fudgesicle from the freezer aisle of your grocery store. These were so much more In terms of taste, and quality and quantity of chocolate. I’m sure in fat and calorie count as well. I will say that these fudgesicles were a bit messy both going in and coming out of the molds. I ended up taking them all out of the molds and freezing directly on a parchment-lined cookie sheet. Then once they were frozen solid, I put them into the cellophane bags. If you don’t wait, they’ll be too soft and smear all over the bags. Picture me racing back and forth between my countertop and freezer like a mad woman in a chocolate factory.
Equipment needed
You need some type of popsicle/ice cream mold, sticks, and parchment paper. If you can find cellophane bags to put the ice cream bars in, those come in handy. And a small-spouted cup and/or a funnel are helpful for filling the molds.
As far as ice cream molds, there are a lot available online. I like the ones shaped like traditional popsicles. Most are silicone, but I sprung for this stainless-steel popsicle mold which I really liked. They freeze fast and release easily. But you can only make six at a time. I have an older silicone one that I also used. In a pinch, you could use paper cups and let them freeze a bit before inserting the sticks. Then you just tear off the paper.
You can buy popsicle sticks at a craft store, but look for food-grade, untreated, and smooth-surfaced wooden craft sticks. Some of the popsicle molds come with sticks. I had some pastel-colored acrylic popsicle sticks that are reusable (but didn’t fit well with the stainless-steel mold covers). I had purchased these along with some cellophane bags when I had the idea of a summer solstice party two years ago. The cellophane bags were great to store the ice cream treats, but you need to make sure they are frozen really well before putting them into the bags or they’ll smear everywhere.
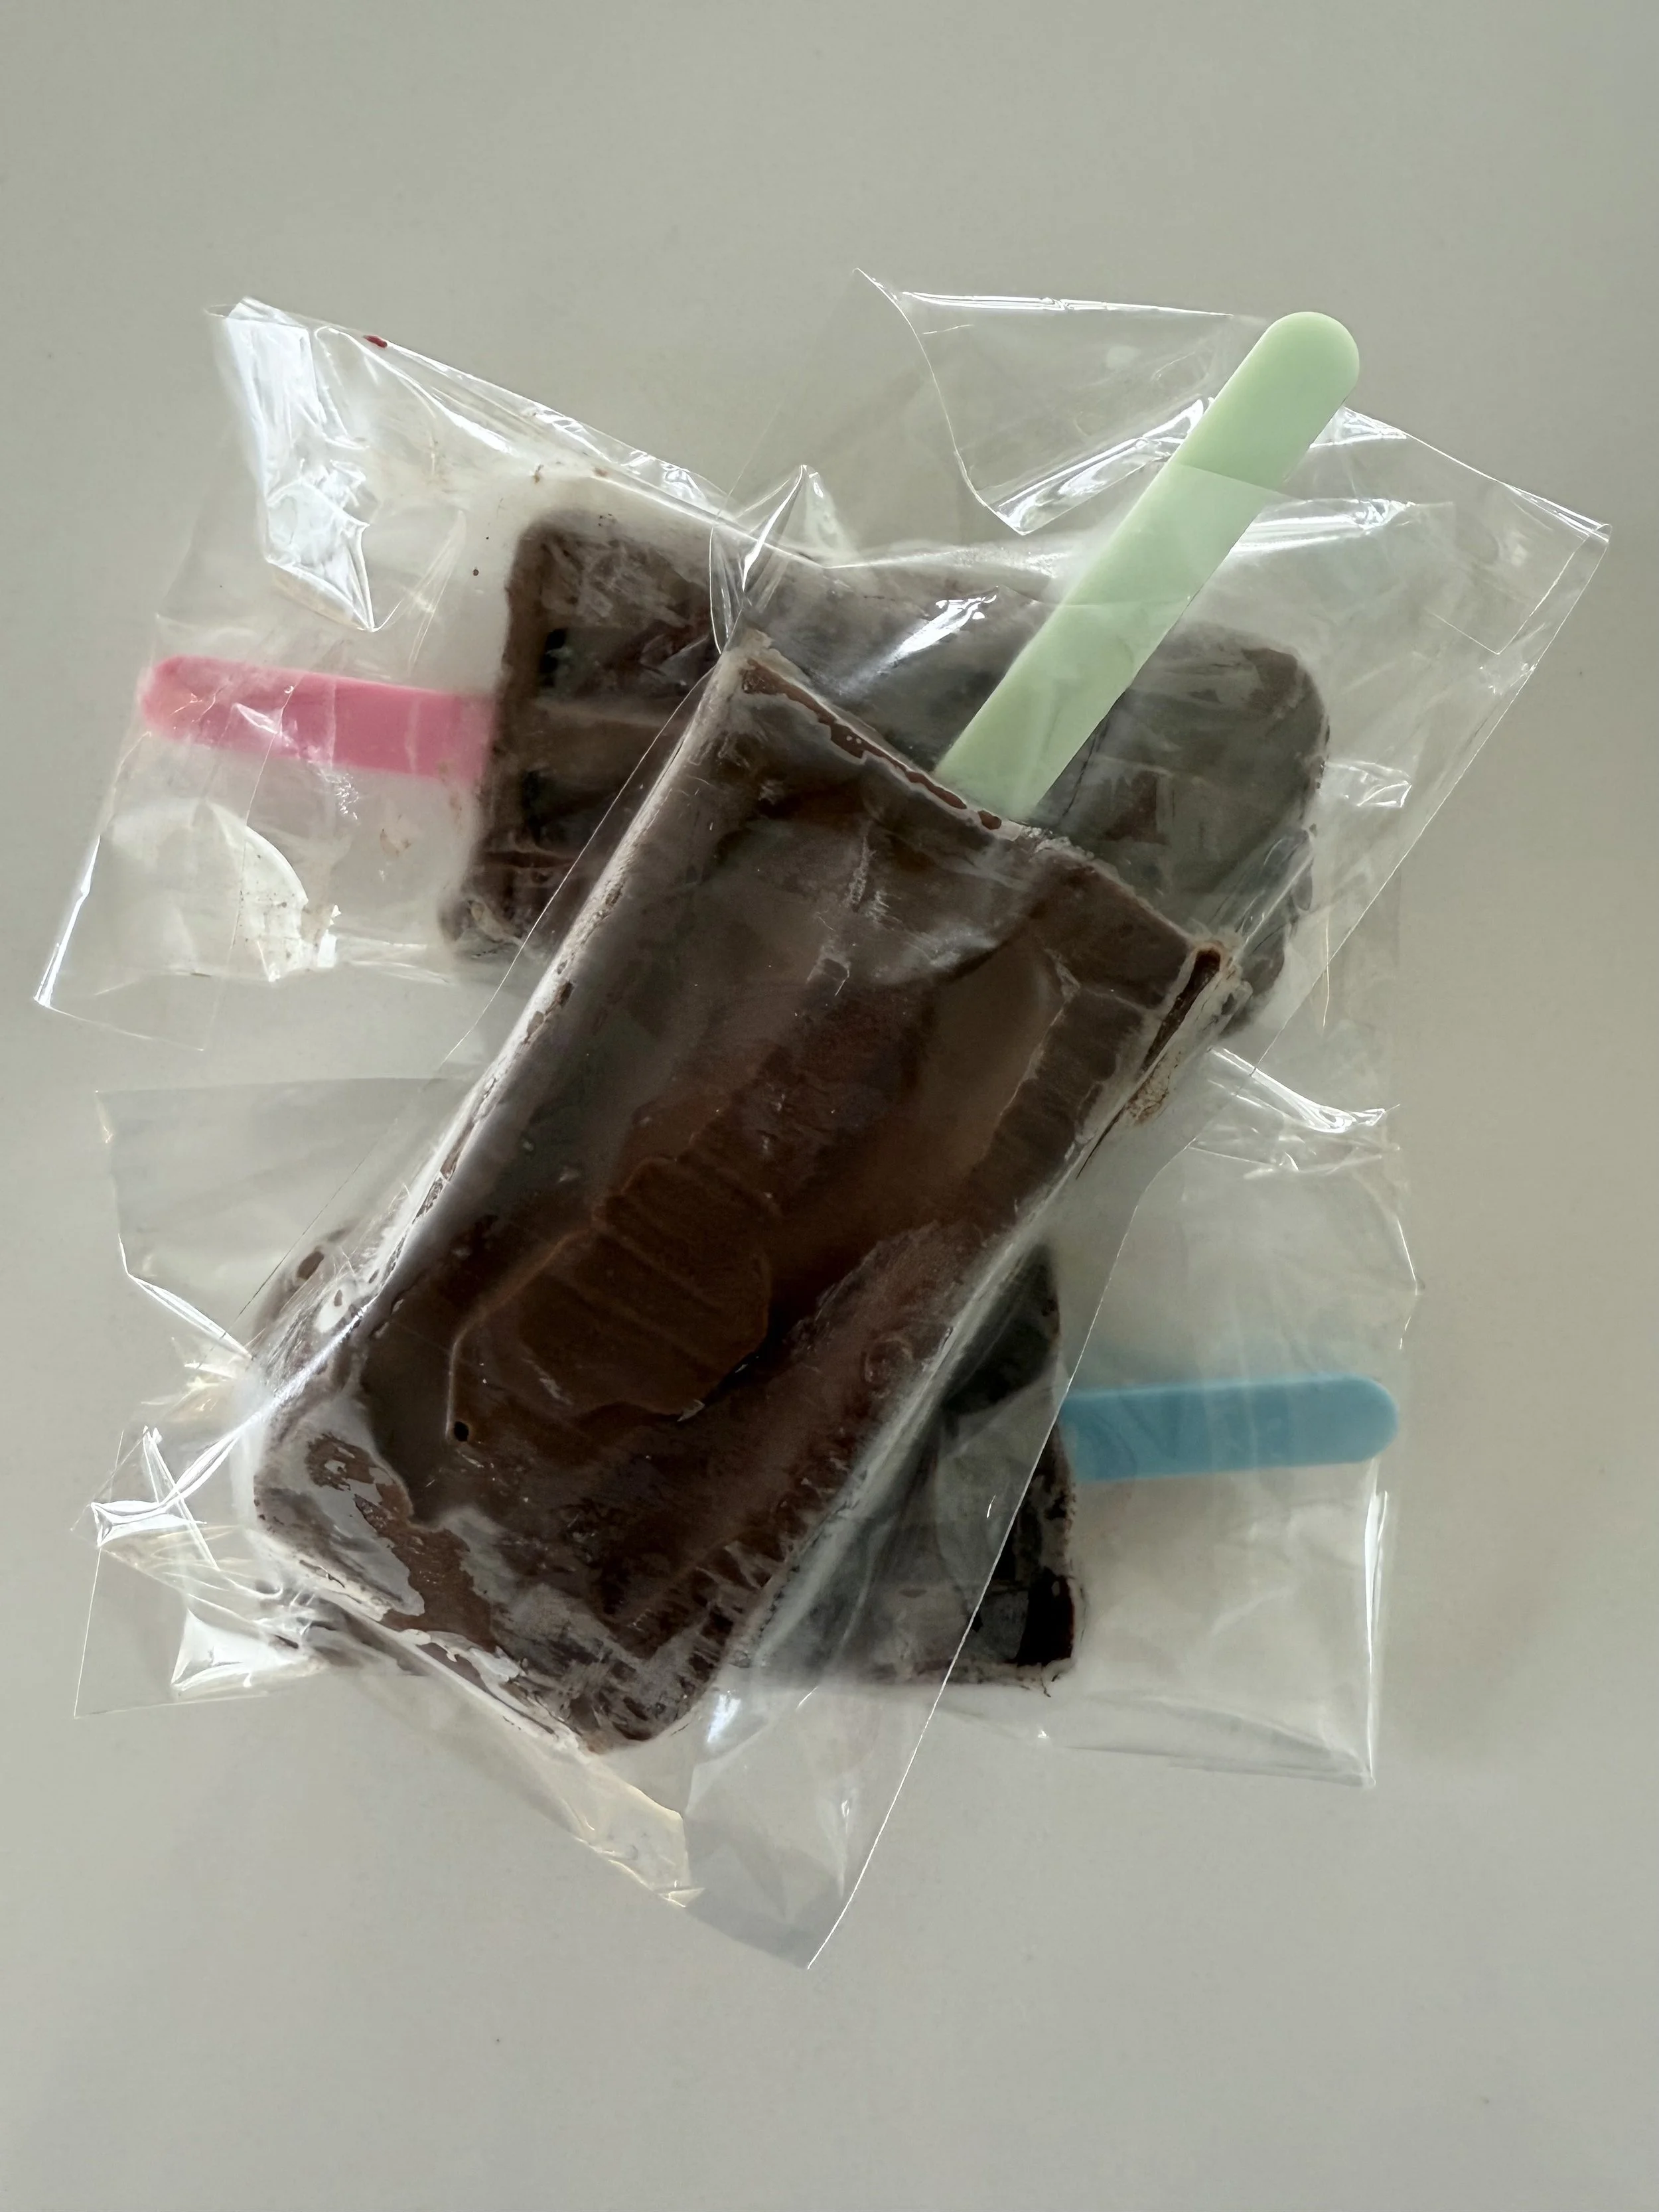
The cellophane bags made a nice presentation. And I couldn’t resist the pretty pastel popsicle sticks I found online.
Parchment paper is a must. The ice cream doesn’t stick to parchment. I had parchment paper and small parchment bags. I found that it worked well to have a parchment-lined cookie sheet ready in the freezer. As I unmolded each ice cream bar, I laid it on the cookie sheet. Then I let them freeze hard again before inserting into cellophane bags or parchment bags. Then I stacked them either in a sealed container or on a cookie sheet and covered tightly with foil. And back in the freezer.
We used a heavy-duty Yeti-style cooler to serve the ice cream, rather than open and close the freezer all evening. This worked well, however my fudgesicles melted quicker so I ended up keeping them in the freezer.
Fudgesicle Affogatos
In the spirit of hosting a “soiree,” I offered a fancy twist on the fudgesicles.
I’d been wanting to do some kind of affogato dessert or espresso martini float, and I always came back to this presentation in The Forest Feast Gatherings.
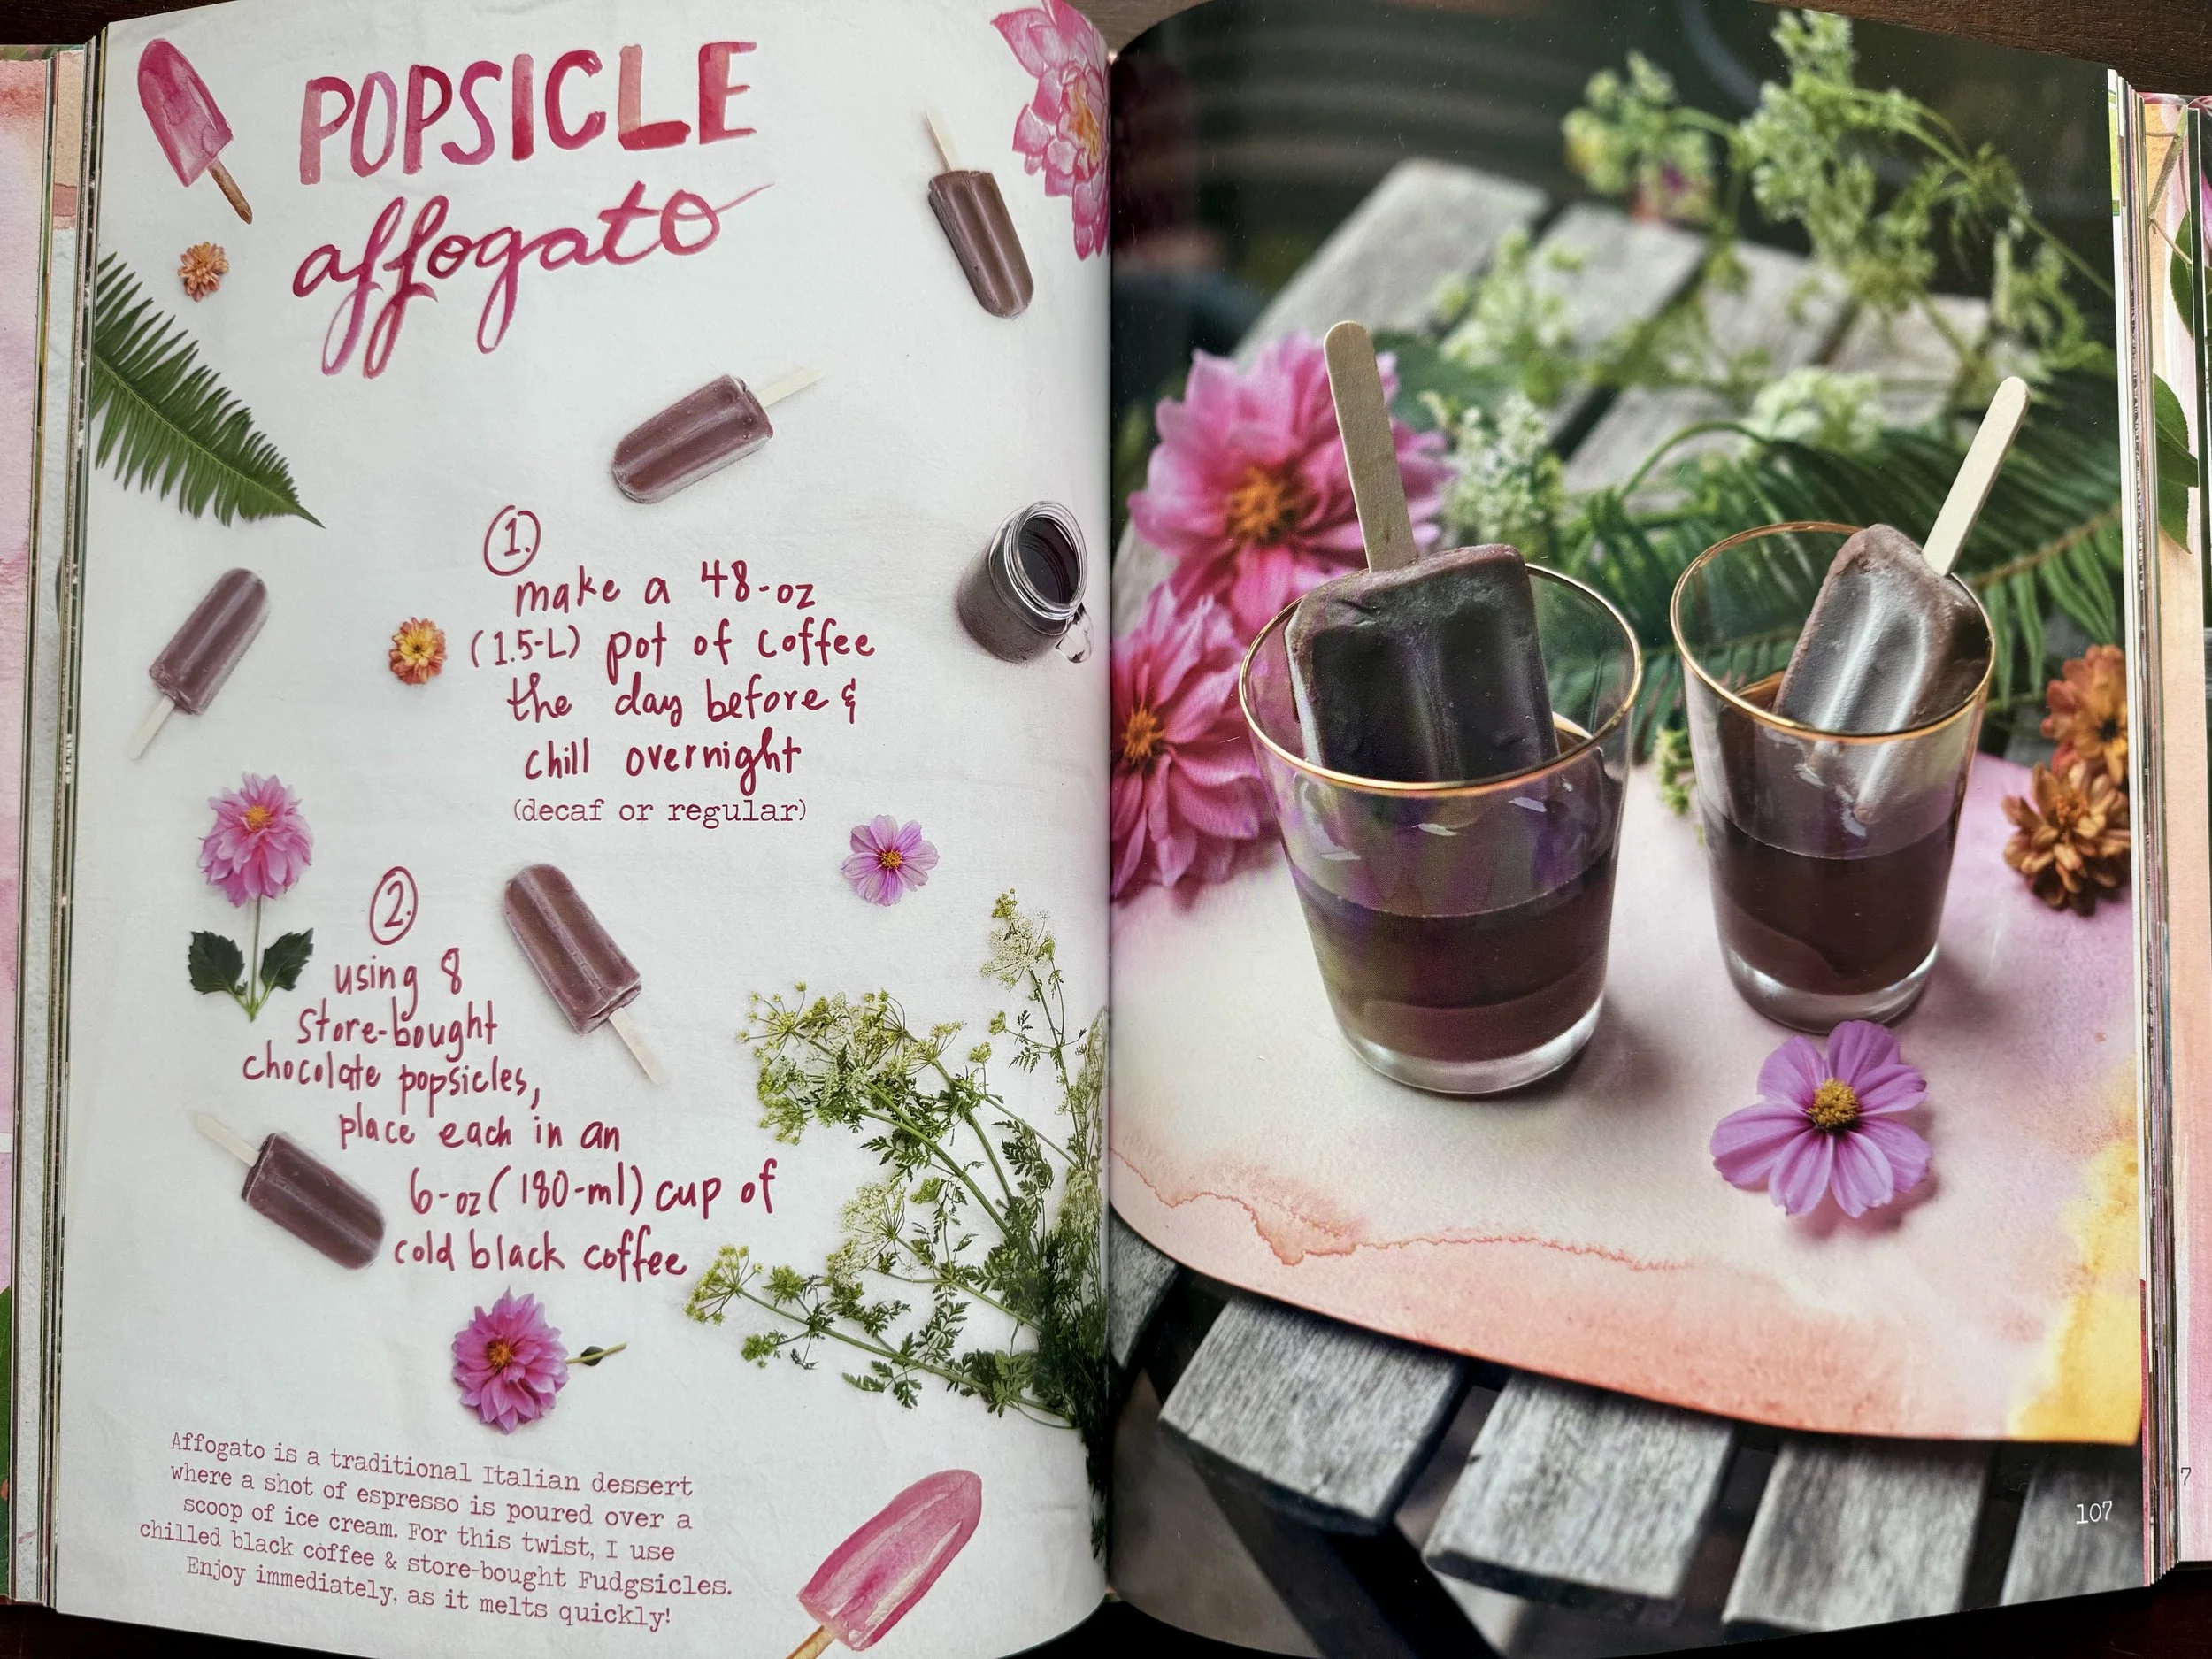
Recipe from The Forest Feast Gatherings cookbook.
It’s been on my entertaining bucket list for a while. Although I think too much was going on at the party for anyone to actually eat their fudgesicle this way (except for me, I’ve had two like this and they’re delicious.) I do think this would be a nice ending to a summer dinner party where there are less distractions.
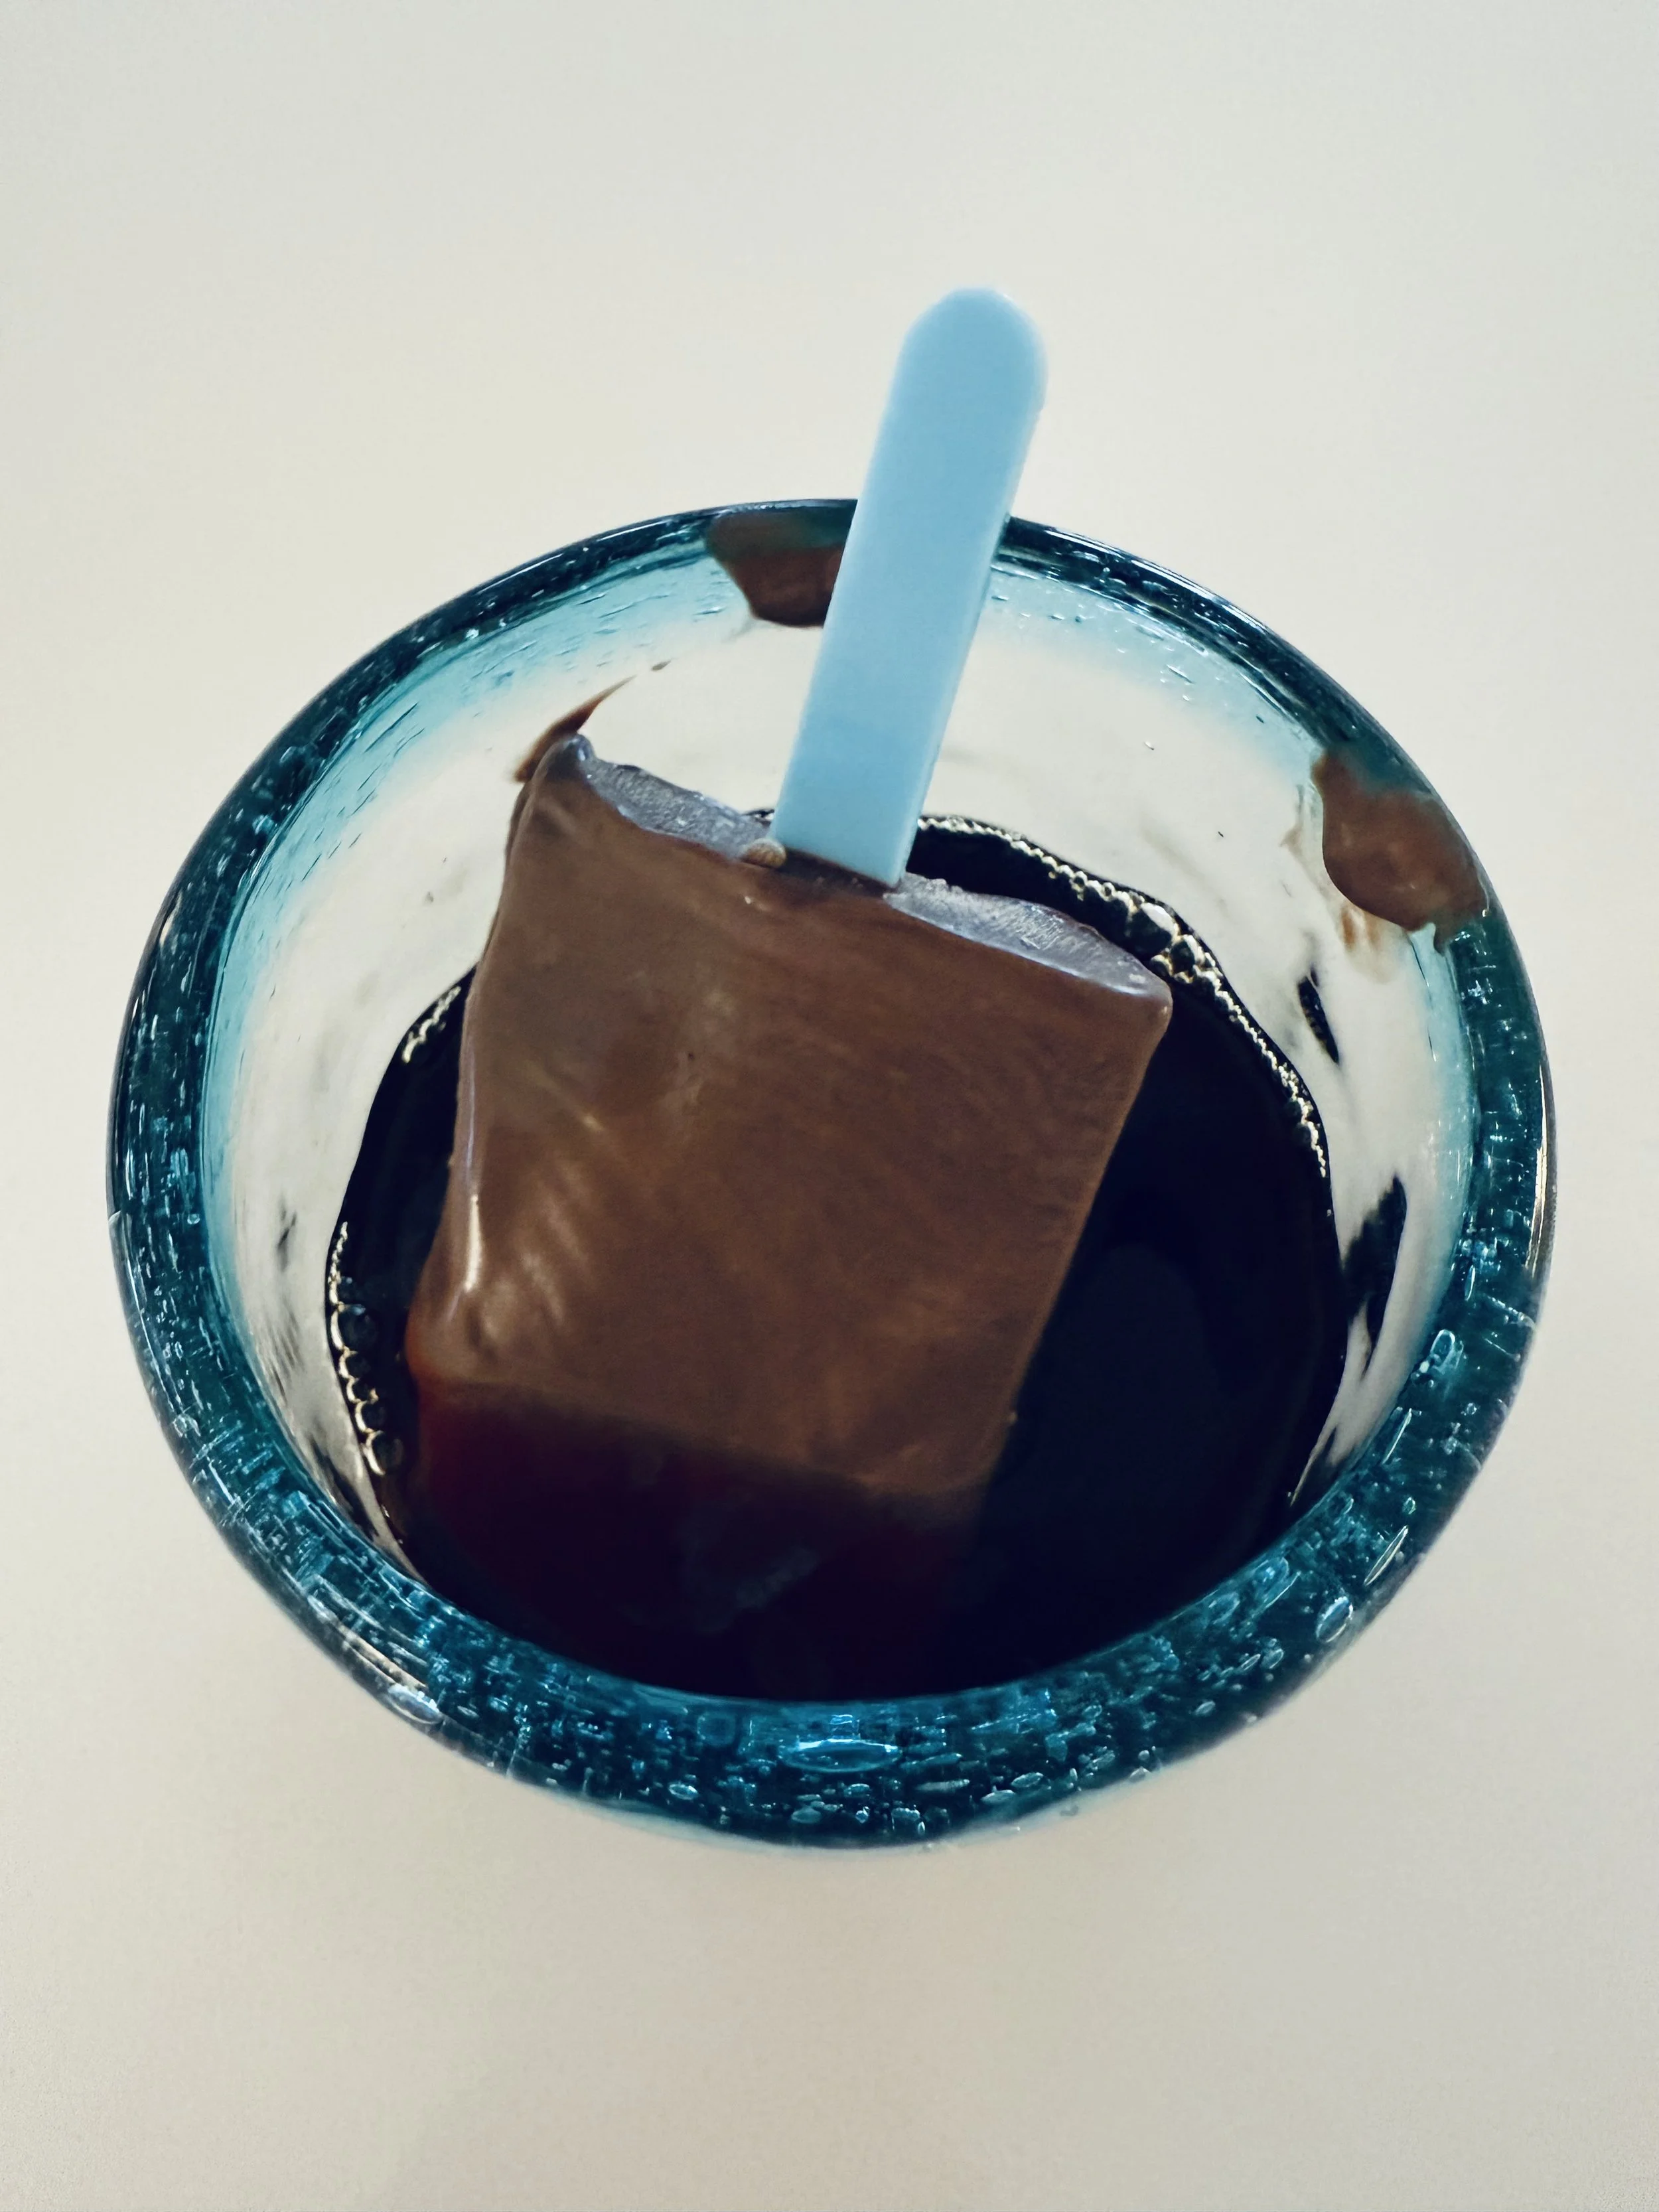
Fudgesicle Affogato served in my aqua-rimmed recycled glassware. The coffee was chilled decaf. A shot of Kailua could be good also..
For me, it was fun to see people trying to decide which ice cream treat to try and listening to people talk about their favorites. Everyone seemed to have fun, and I would do this again. Next year I may just focus on a variety of ice cream sandwich concoctions. Or buy one of those waffle cone makers and create my own drumsticks. Or figure out how to make Creamsicles.
Bottom line, an ice cream party is a good idea for many reasons and especially, for no real reason.
Happy Summer!